As cyber threats evolve, Security Operation Centers (SOCs) need a robust way to share, analyze, and act upon threat intelligence. This is where MISP (Malware Information Sharing Platform & Threat Sharing) comes into play. In this article, we will dive into what MISP is, how it works, and how it can elevate the capabilities of a SOC, especially when installed on a virtual environment like Proxmox as an LXC.
What is MISP?
MISP is an open-source platform designed to improve the detection and prevention of cybersecurity incidents. It allows organizations to collect, store, and share threat intelligence data with other organizations, effectively creating a collective defense network. Originally developed to share malware-related information, MISP has evolved into a comprehensive threat intelligence sharing platform covering malware, vulnerabilities, phishing attempts, and much more.
Key Features of MISP
- Structured Data Sharing: MISP uses a standardized format for sharing threat data, ensuring that indicators of compromise (IoCs) are easily shared and understood between different organizations.
- Collaboration: MISP encourages sharing of threat intelligence within communities, which allows teams to collaborate on emerging threats in real-time.
- Automation: The platform supports the automated ingestion and distribution of threat intelligence, reducing the manual workload of SOC analysts.
- Integration Capabilities: MISP integrates with various security tools, making it easier for organizations to incorporate threat intelligence directly into their workflows and improve the overall SOC response.
- User-Friendly Interface: Despite its power, MISP offers an intuitive user interface that makes it easier to organize and analyze threat data.
How MISP Benefits a SOC
For a SOC, speed and accuracy are critical when responding to cyber threats. Here’s how MISP enhances the capabilities of a SOC:
- Improved Threat Detection: With real-time data sharing and enriched intelligence, SOC analysts can quickly detect indicators of compromise and respond to incidents before they escalate.
- Faster Incident Response: MISP enables SOC teams to integrate threat intelligence into their security tools, streamlining incident investigation and response processes.
- Community-Driven Intelligence: A SOC using MISP can collaborate with other organizations or communities, such as industry-specific Information Sharing and Analysis Centers (ISACs), gaining a broader understanding of emerging threats.
- Reduced Alert Fatigue: By filtering and prioritizing intelligence data, MISP helps analysts focus on the most critical threats, reducing the noise from irrelevant or redundant alerts.
- Data Enrichment: MISP can automatically correlate incoming threat data with known IoCs, enriching SOC investigations with valuable context and insights.
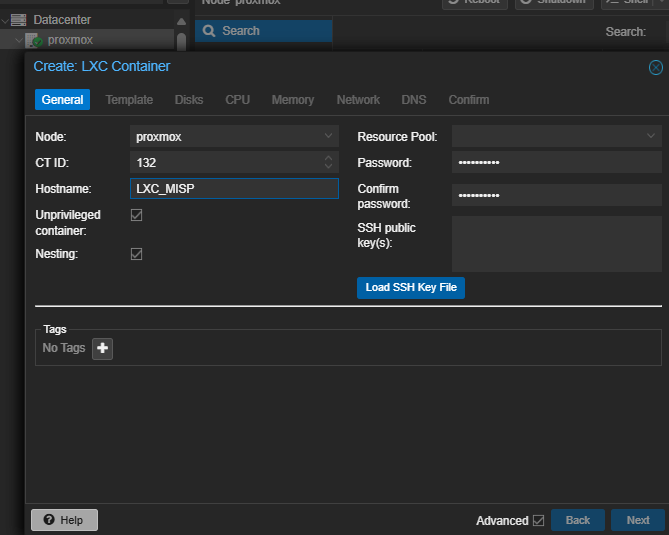
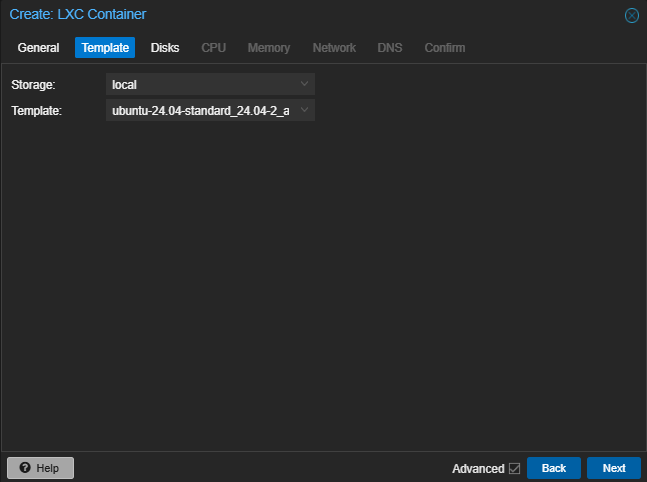
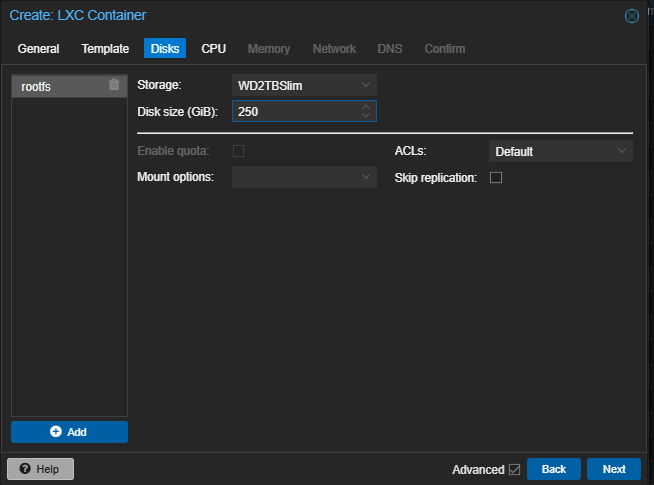
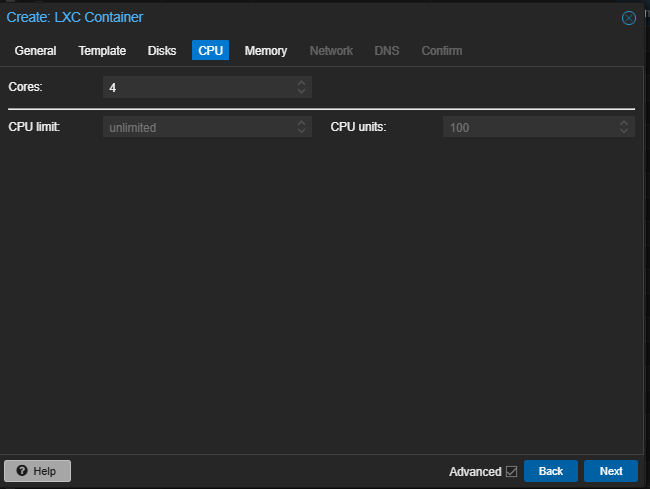
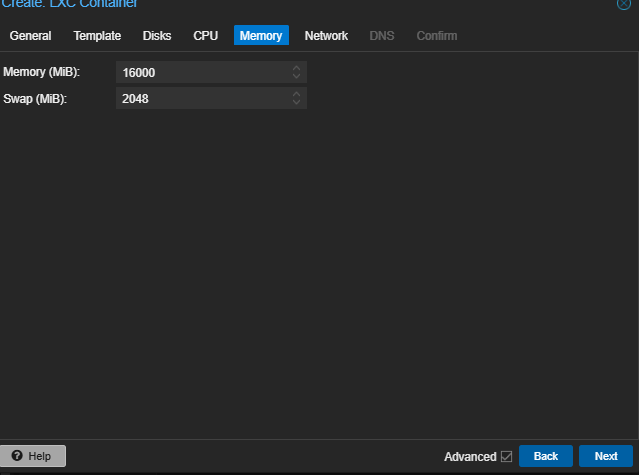
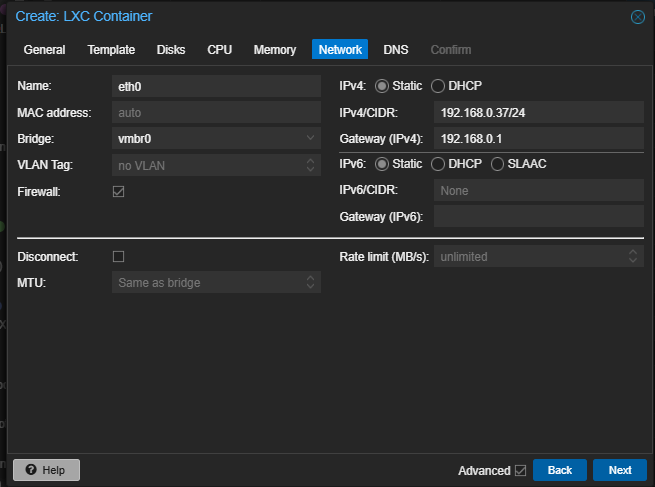
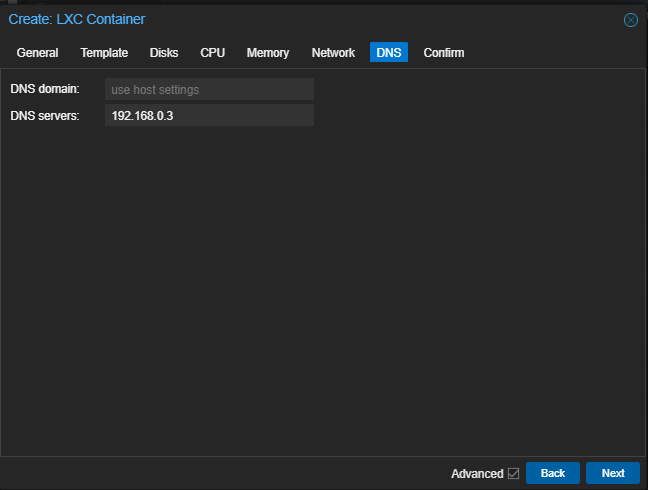
Installing MISP on Proxmox as an LXC
In addition to its features, MISP is flexible in terms of deployment. It can be installed on a variety of platforms, including Proxmox as an LXC (Linux Container). This lightweight approach allows you to allocate minimal resources while maintaining scalability for handling large threat datasets. For those interested in setting up MISP on their Proxmox server, feel free to refer to the step-by-step guide and images I have uploaded earlier in this blog post.
MISP Installation Guide Using LXC Containers
OS Upgradation using apt-get update && apt-get upgrade -y
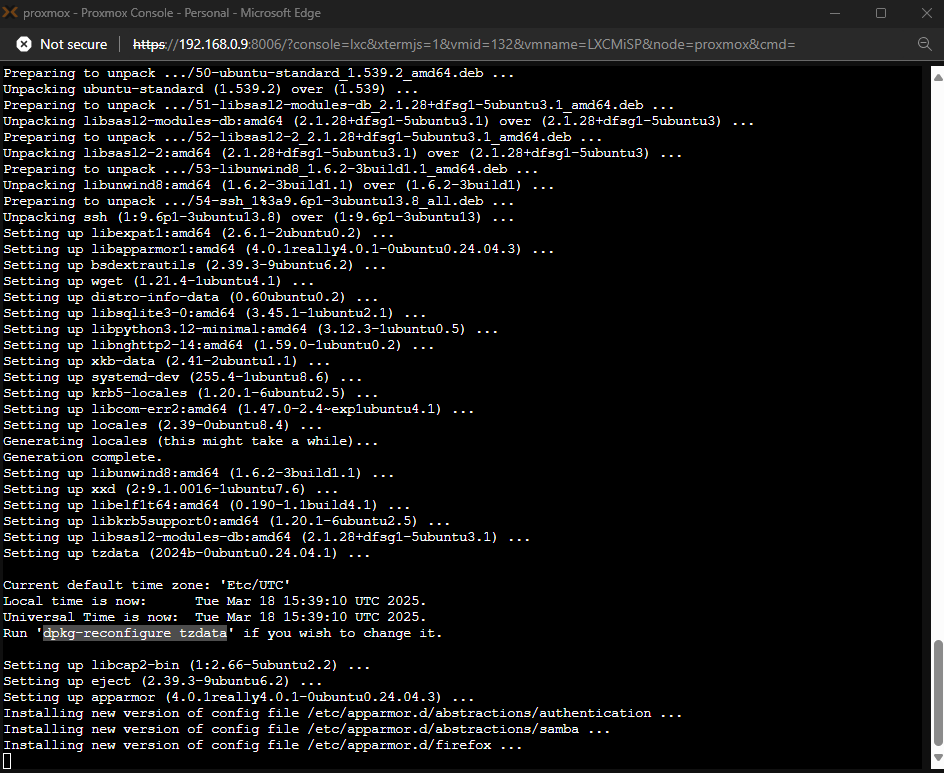
Updating System Date & Time
dpkg-reconfigure tzdataFollow installation guide
Official Page: https://www.misp-project.org/download/
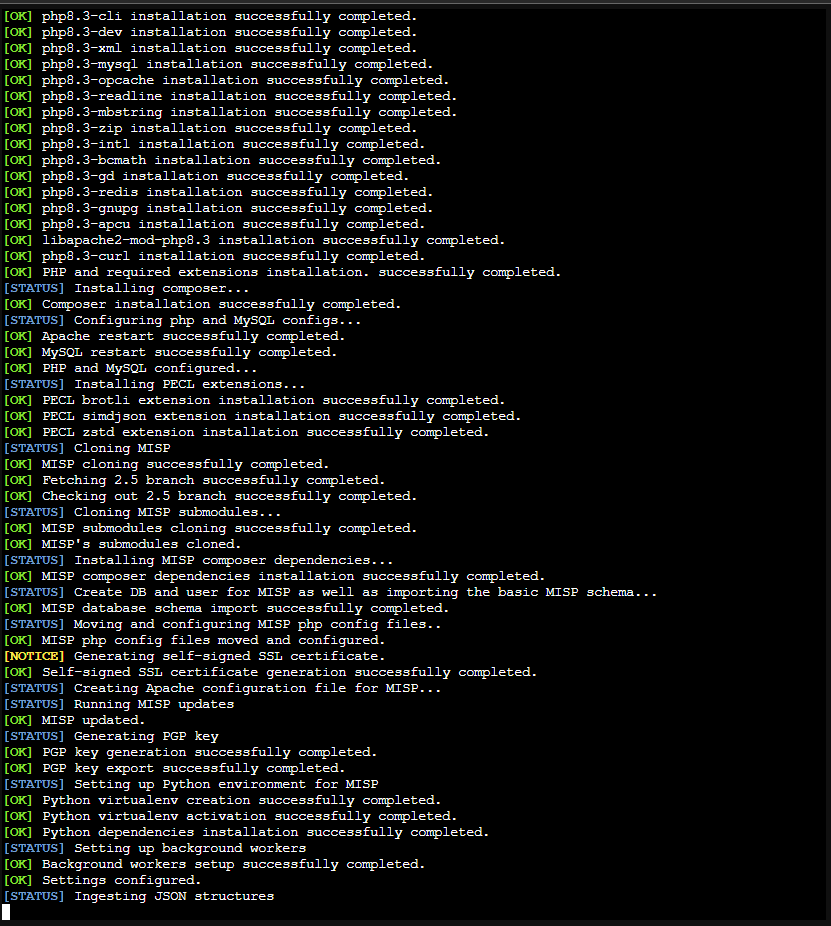
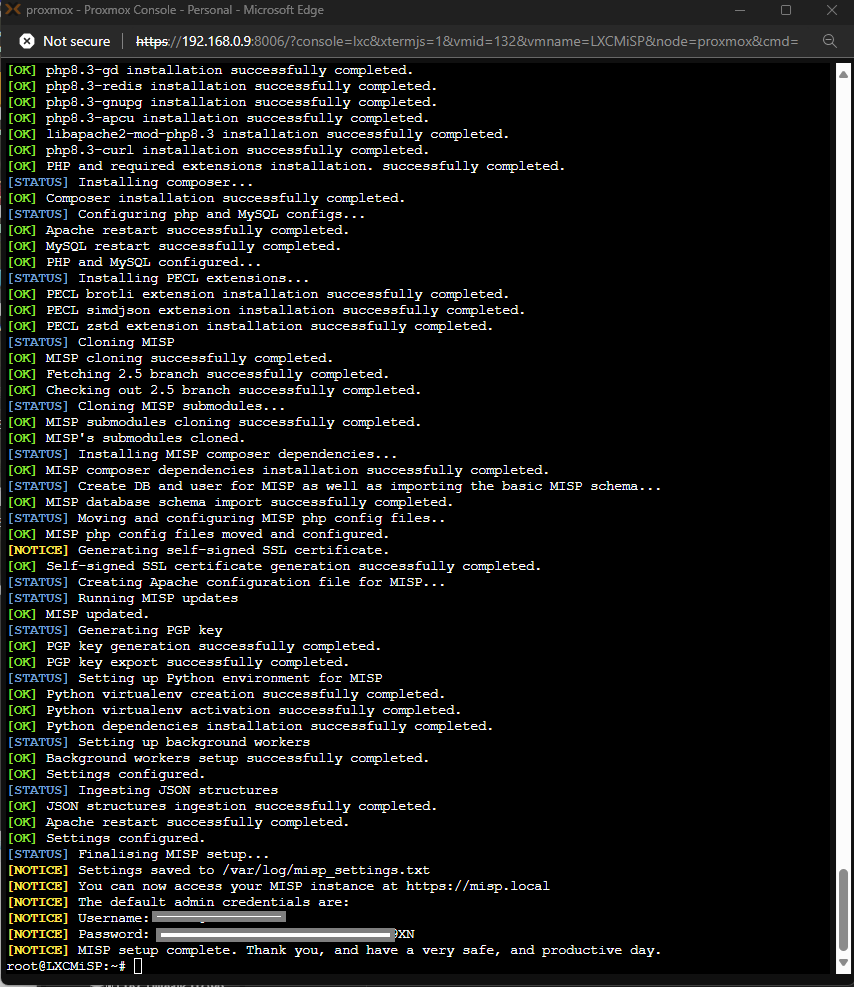
Installation:
wget https://raw.githubusercontent.com/MISP/MISP/refs/heads/2.5/INSTALL/INSTALL.ubuntu2404.sh
chmod +x INSTALL.ubuntu2404.sh
./NSTALL.ubuntu2404.sh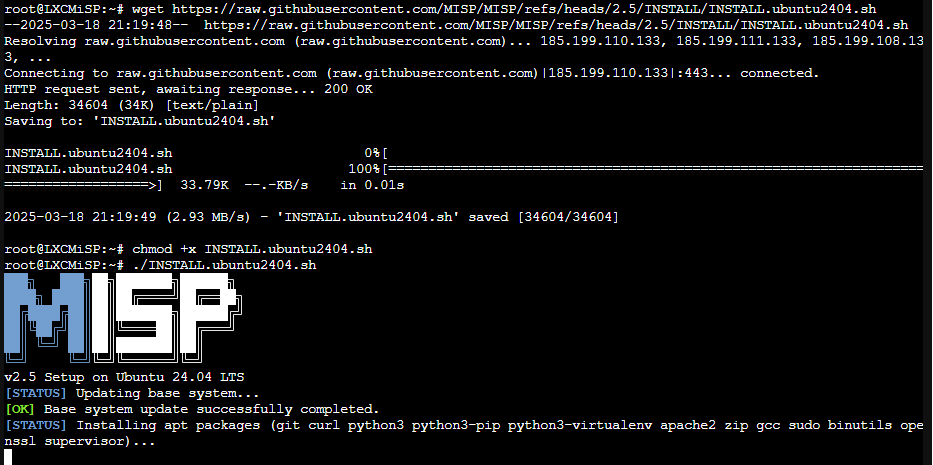
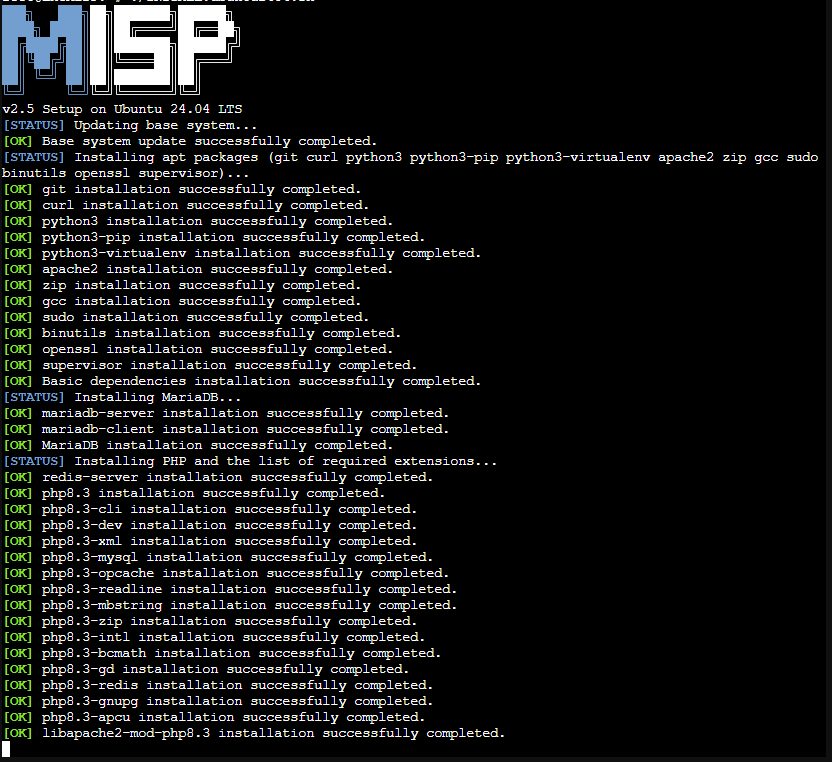
MISP
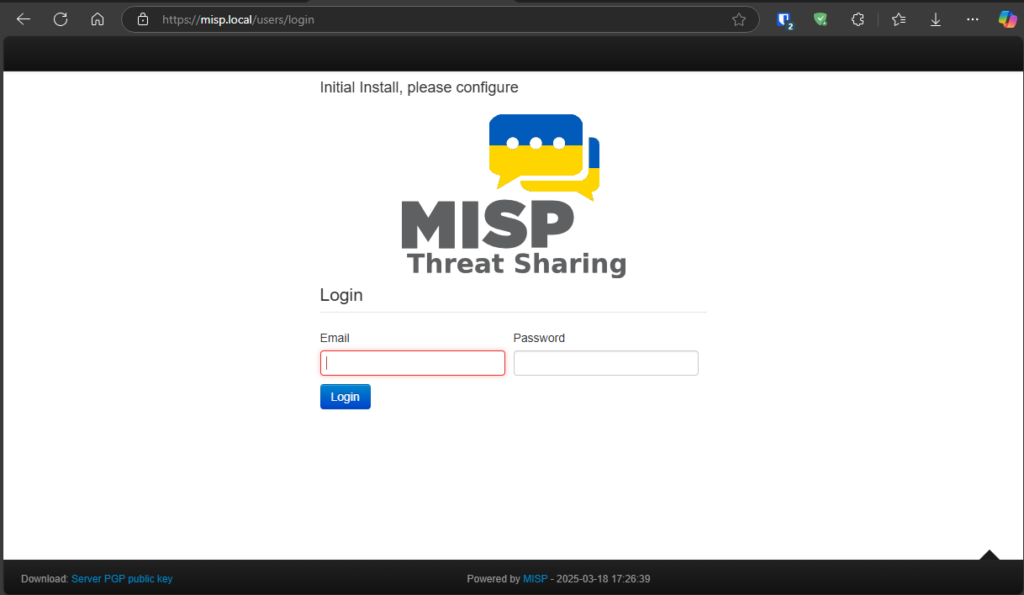
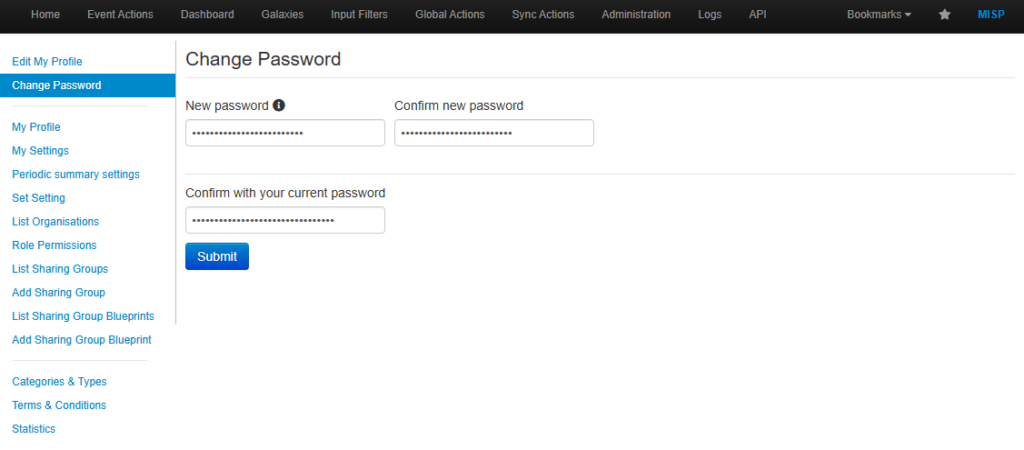
First time login & Password Change
Comprehensive Guide to MISP Feeds: Enabling, Caching, and Loading Default Metadata
MISP’s Feeds feature is essential for automating the ingestion of external threat intelligence data. Feeds are collections of regularly updated information such as indicators of compromise (IoCs), malware signatures, phishing URLs, and other threat-related data that can be automatically imported into your MISP instance. These feeds help SOCs stay informed about the latest cyber threats without the need for manual updates.
1. Types of MISP Feeds
- Public Feeds: These are openly available and widely used feeds from trusted sources, such as CIRCL, abuse.ch, and others. Public feeds provide valuable open-source threat data.
- Private Feeds: Feeds that are restricted to specific organizations or communities. These can contain internal threat intelligence or industry-specific data.
- Custom Feeds: Organizations can create custom feeds tailored to their specific environment or threat landscape. These can be private or shared with trusted groups.
2. Enabling Feeds in MISP
Enabling feeds in MISP is straightforward. Here’s how to do it:
Step-by-Step Guide to Enabling MISP Feeds
- Log in to your MISP instance: Start by logging into your MISP instance as an administrator.
- Go to the Sync Actions: From the main dashboard, navigate to the ‘Sync Actions’ tab on the top menu.
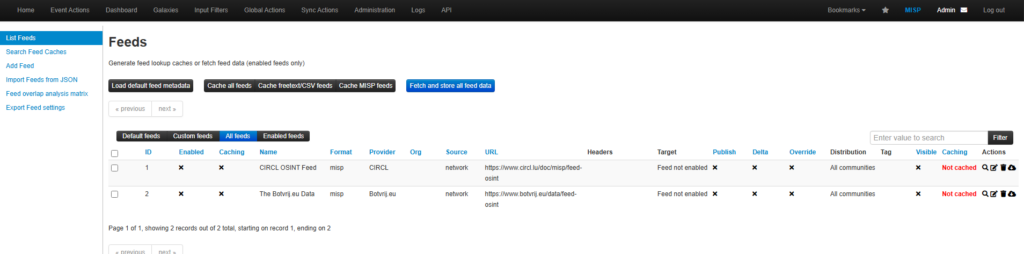
- Select ‘List Feeds’: In the drop-down menu under Sync Actions, select ‘List Feeds’. This will show a comprehensive list of all available feeds (both public and private).
- Review Feed Metadata: For each feed, you’ll see details such as the feed name, description, source, and update frequency. You can click on a feed to view more specific metadata, like the number of attributes it provides, its format, and other important details.
- Enable the Feed:
- Toggle the “Enabled” Option: In the feed’s details page, you’ll find a toggle option labeled ‘Enabled’. Simply set this to ‘Yes’ to activate the feed.
- Set Synchronization Frequency: You can configure the frequency of feed updates—whether you want MISP to pull data hourly, daily, or at a custom interval.
- Cache Option:
- What is Feed Caching?: The ‘Caching’ option, located next to the ‘Enabled’ toggle, allows you to store feed data locally on your MISP server. This feature can improve performance by reducing the need to re-fetch the entire feed from the source every time. Instead, MISP will cache the feed data for faster access and lower bandwidth consumption.
- When to Enable Caching: If the feed contains a large amount of data or updates frequently, enabling caching can significantly speed up the retrieval process. It is recommended to enable caching for feeds that are updated at regular intervals.
- Save and Sync: After enabling a feed and setting up caching, click ‘Save’ to apply the changes. Then, to sync the data immediately, click the ‘Fetch All Feed Data’ button, which will pull the latest information into your MISP instance.
3. Loading Default Feed Metadata
MISP comes with a set of pre-configured feeds that are highly useful for SOCs. These default feeds can be loaded with the click of a button.
Steps to Load Default Feed Metadata
- Navigate to the List Feeds Page: Again, from the ‘Sync Actions’ tab, click on ‘List Feeds’.
- Load Default Feeds: At the top of the ‘List Feeds’ page, you will see a button labeled ‘Load Default Feeds’. This action will populate the list with pre-configured feeds that MISP ships with by default, including public feeds from CIRCL, malware feeds, and others.
- Review the Metadata: Each feed will include metadata about its source, frequency of updates, and the types of threat intelligence it contains. You can click on each feed to get a detailed view of its attributes.
- Enable and Configure Default Feeds: After loading the default feed metadata, you can follow the same steps as outlined earlier to enable, cache, and configure synchronization for each feed based on your needs.
4. Enabling and Caching Feeds: In-Depth Guide
Let’s revisit how to enable and cache feeds in more detail.
- Enabling Feeds: Each feed comes with an ‘Enabled’ toggle. When set to ‘Yes’, MISP will begin fetching and syncing threat data from the selected feed.
- Caching Feeds: The ‘Caching’ toggle next to the ‘Enabled’ option ensures that MISP stores feed data locally for faster retrieval and reduced server load.
- Why Use Caching?: Enabling caching is especially useful for large feeds or for organizations with bandwidth constraints. MISP will pull the feed data from local cache rather than downloading it from the external source each time.
- Caching Best Practices: Consider caching feeds that:
- Are large in size (e.g., IP blacklists or large domain feeds).
- Update infrequently (e.g., weekly or monthly feeds).
- Require frequent lookups (e.g., DNS or malware signature feeds).
5. Using Feed Data in Your SOC
Once you’ve enabled and cached your desired feeds, you can begin using the data in your security workflows. MISP will automatically correlate the incoming feed data with existing indicators, allowing SOC analysts to:
- Investigate Incidents: Use feed data to enrich investigations into potential incidents, quickly identifying known threats.
- Monitor Emerging Threats: Set up alerts or dashboards based on feed data to track new attack patterns and vulnerabilities.
- Automate Response: Integrate MISP with your SOC’s security stack to automate actions, such as blocking IPs or domains that appear in feed data.
By enabling and caching feeds, and loading default feed metadata, MISP becomes a powerful tool for automating the flow of threat intelligence. It ensures your SOC has the latest information to detect, respond to, and prevent cyber threats effectively.
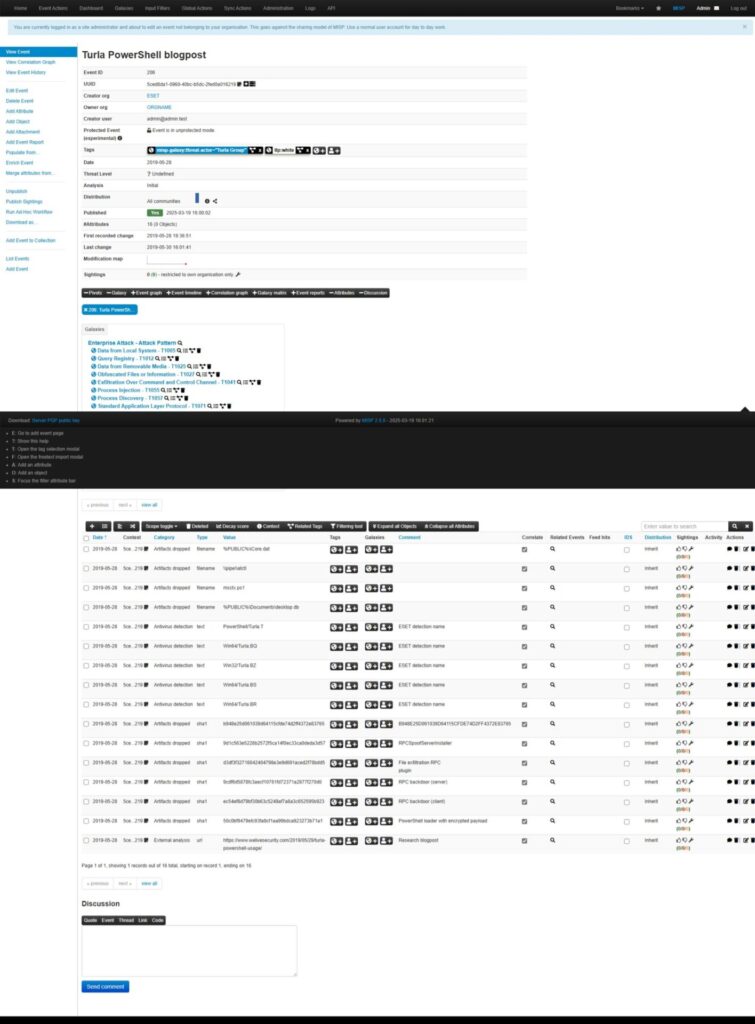
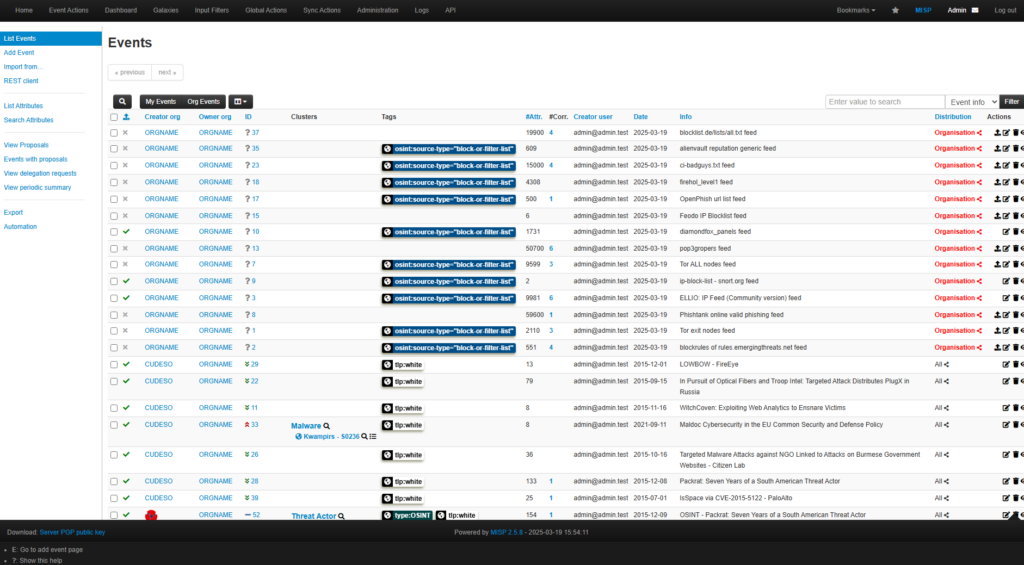
Events getting populated from the Feeds which are enabled.
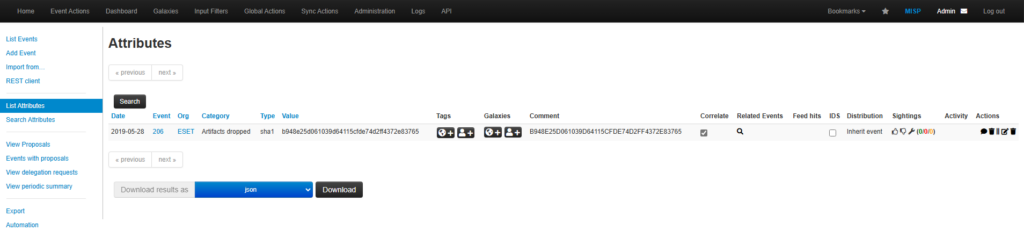
Searching for IOC’s
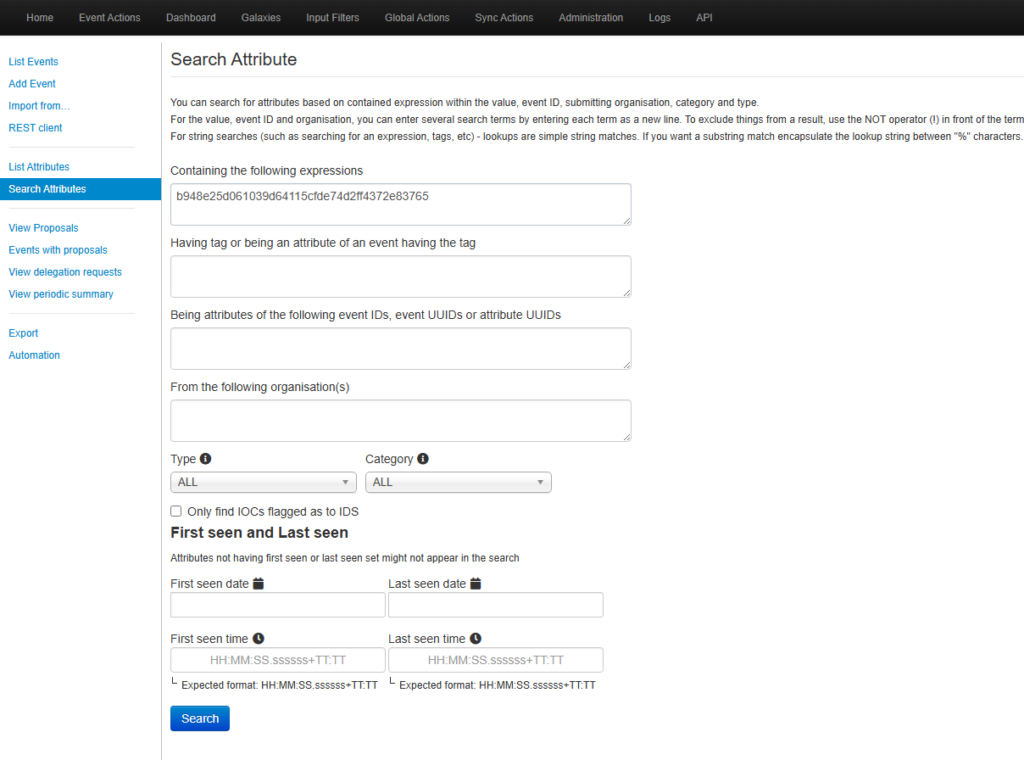
Result: